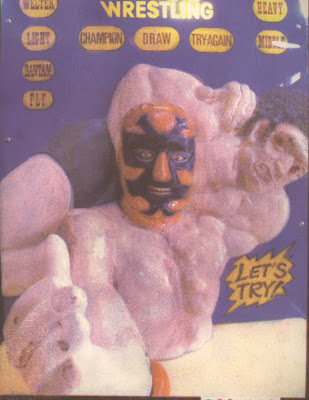
Not bad, for a first attempt (actually, second attempt, more on that in a minute). I thought it might be interesting to see each color layer and how it effected the print, so I made scans every step of the way.
Here’s the yellow layer.
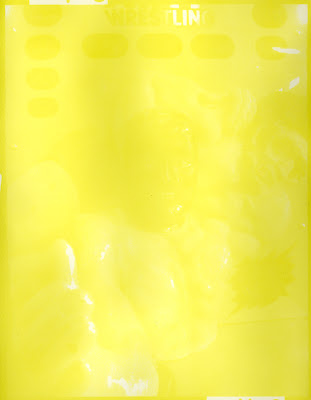
Yes, it’s very yellow. Look close and you can see hints of an image. This was a 5 minute exposure, which I later figured out was overexposed.
Here’s the second layer, magenta.
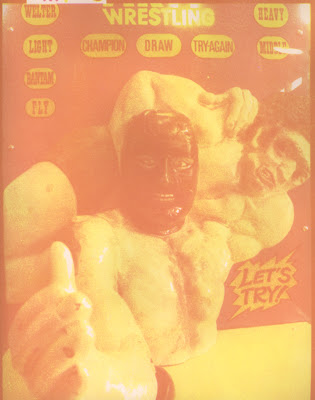
As you can see, adding the magenta layer makes the image much more clear. There’s a strong orange-pink look, but I figured that adding cyan would change that.
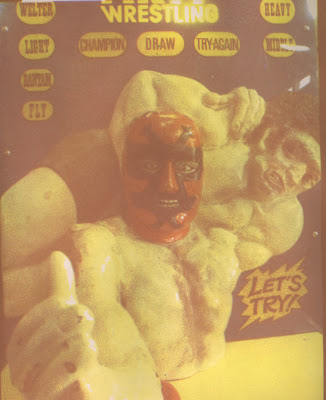
It’s kind of muddy, and the blues have a strong purple-gray tint. I decided to add a second cyan layer. Here’s the result.
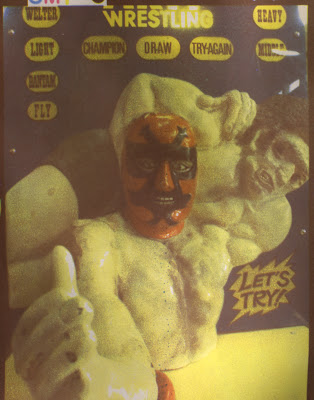
Much better, and pretty close to the final version I got after adding the black layer.
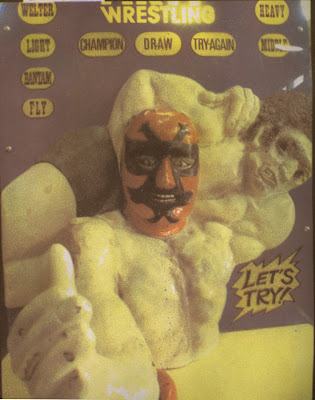
So here it is, the first print. It’s way too yellow, so I decided to make a second version ot the print (which you saw at the top of this post, and I’m repeating here).

The main difference between the first one and this one is that I decreased the yellow exposure by one minute, from 5 minutes down to 4. The resulting change is dramatic. It changed so much that it was looking like it had too much magenta exposure instead of too much yellow. I originally gave this print only one cyan coating, but in an effort to tone down the magenta, gave it a second cyan layer after the black. This resulted in a print that was way too blue, so I carefully removed the cyan from selected areas of the print (when a gum layer is wet, it is very soft and can be removed or manipulated easily, In fact, it’s easy to ruin a print in progress by handling it too roughly while wet).
So, the print you see above and at the top of this post is the second one I made, and the first one with good color. I’m surprised at how much changing the yellow exposure by one minute had on the final image, and I fear that I may have to adjust exposure for one or more colors for every new print I make. We’ll see, I’ve already started printing a 2nd image (the yellow layer is soaking as I write this).
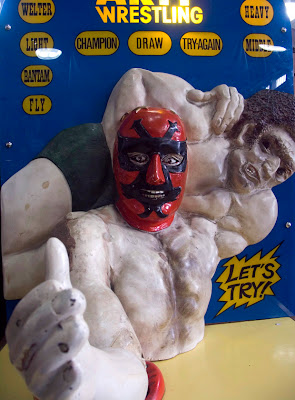
One last image, This is the original photo that the gum print was made from. You can see how much this process changes the color of the image.
dang!! your first gum prints are amazing!!! I wish mine looked that good. I didnt put much time into em though for school this quarter. I just got stuff to do em at home, so I would love to try them more here. The light did not seem to do the job that my friend bought, so I might have to go buy some different ones. we will see. Anyways, AMAZING GUM PRINTS!!!
ReplyDelete