Saturday, May 21, 2011
First Light
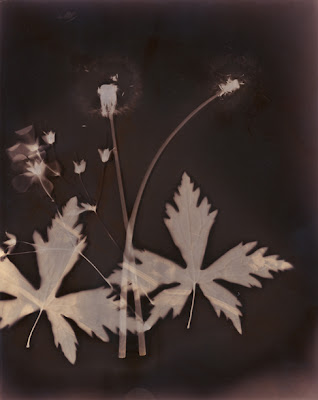
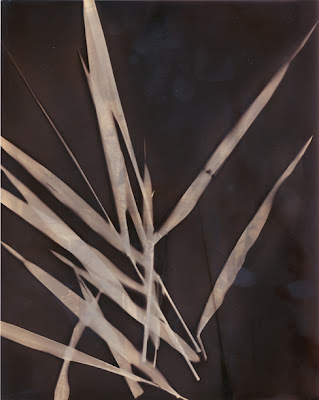
These are my first attempts at lumen printing, made yesterday afternoon. I heard about lumen printing for the first time only a couple of months ago, and after seeing some really nice examples online, I know I would be trying it as soon as I finished school (and had a sunny day, which has turned out to be kind of rare this year).
Lumen printing couldn't be easier. Basically, you are treating regular photo paper as if it were printing-out paper. You take any photo paper (old, expired paper seems to work the best), lay objects on it (online sources claim that leaves and other plant material give the best results), cover it with glass, and let it sit in direct sunlight for a long time. These photos were exposed for about 50 minutes. I used Kodak Panalure paper that is at least 13 years old for these prints.
After exposure, the prints aren't developed normally (which would likely turn them solid black), but are fixed. The reading I did online suggested using highly diluted fix, so I made my fix half strength. Online sources also suggested toning before fixing. The only toner I had in my studio was an ancient bottle of selenium toner, so I mixed that up and threw the prints in for a few minutes.
I like the results, for the most part. Some lumen prints can have interesting shades of pink, purple and blue, but that is dependent on the type of paper and toner used. The deep brown/black tones I have here are more common. There are many variations to this process, and I hope to explore some of them over the summer. One thing I'm really excited about is what's seen in this last image. I had a couple of enlarged transparency negatives from a failed gum bichromate print in my darkroom, so I threw them onto a sheet of Panalure and made a lumen print, just to see what would happen. The results are much better than I expected, and I'm looking forward to trying a lumen print from a transparency negative made just for that purpose.
Subscribe to:
Posts (Atom)


