Tuesday, October 23, 2007

Black Monday

I had my own little black Monday yesterday. Ok, it wasnt as bad as the stock market plunge of 1987, but it was one of those days where everything I set out to do turned to crap.

I was in the basement trying to get some printing done. The sink in my basement is in horrible shape. Yesterday, the cold water had two settings: trickle and full blast. Because the faucet leaks like mad, having it on full blast meant I was sending sprays of water a couple of feet into the air, soaking everything as I tried to work. Yes, I know I need a plumber. I’m trying to find a larger utility sink first, so that I can have it installed along with the other plumbing work. Unfortunately, I’m having a hard time finding one. In the meantime, I bear with it.

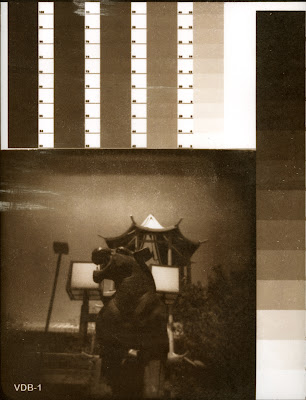
First up was a Van Dyke brown print of this image:


It’s a sort of panorama made from two photos taken with the Nishika four-lens camera. The black and white original looks pretty good, but the first negative I made looked light to me. Sure enough, when I printed it a few days ago, it was way too dark. So, I went back tto the image, lightened it and made other adjusments, and printed a second negative. This one looked much better, so I reprinted using the new negative.

This is what the resulting print looks like:


Still too dark, and the streaks caused from brushing the Van Dyke brown chemistry onto the paper are really annoying. I’ve been doing Van Dyke brown prints on Rives BFK paper, but I’m thinking of trying this image again using the Arches cold press I use for cyanotypes.

Meanwhile, I printed a cyanptype of a collaged panorama image made from photos I took of the first Mc Donalds in Des Plains, IL. It came out beautifully, but as it dried, started getting splotchy looking. It’s especially noticiable in the sky.


While that print was washing, I started tryng some more toning processes on cyanotype prints. I really liked the first one I mentioned in my last entry, so wanted to try some more. Unfortunately, none of these were very sucessful.

Here’s the first one:


This toner works by placing the print in Dektol (Kodak’s basic B&W print developer) until it bleaches, then soaking it in a bath of tannic acid. The book said it would turn the print a smoky black, which is what I was hoping for. What I got was a muddy purple-brown, similar to but not as nice looking as the eggplant-black toner I tried a few days ago.

Here’s the second toner I tried:

This one involved soaking the print in ammonia mixed with water, then in the tannic acid. The book said it would turn brown. As you can see, I got purple. Not bad in itself, but the eggplant-black one is still better.

On to toner #3:


This used the same ammonia and tannic acid baths as the ‘brown’ toner, but also had a third dip into a tray of sodium carbonate to achieve the red tones. The book said this would be red-brown. I got a slightly more red and slightly less muddy version of the black toner mentoned above.

Feeling underwhelmed by these toning processes, I decided to run one more cyanotype of the McDonalds image, to correct for the splotches in the sky. Unfortunately, I wasn’t paying atention, and got this:


Yes, I printed it backwards. Would have been a beautiful print if it was done right.

So that’s it. A pretty uninspiring day in the studio. I do have some really nice Van Dyke brown prints I made a few days ago. I’ll post those soon. For now, I’m trying to build up enough ambition to do some more printing.

Thursday, October 18, 2007

Van Dyke Brown Prints and Toned Cyanotypes

I’ve spent the past day doing calibration tests on negatives using the Van Dyke brown process. Van Dyke brown is an old photographic process. Like cyanotype, it was first used in the mid 19th century. The process for making a Van Dyke brown print is very similar to the process for making a cyanotype. It’s a little more fussy, however, and unlike cyanotypes, Van Dyke brown prints need to be treated in a fixer bath like regular black and white photographic prints. Van Dyke brown emulsion is much more sensitive to ultraviolet light than cyanotype emulsion is. I’m making Van Dyke brown prints with a four minute exposure, as opposed to twelve minutes for cyanotypes. The resulting prints are a rich brown color, and show a much fuller tonal scale than the naturally high contrast cyanotypes do.

Running exposure calibration tests for Van Dyke brown prints was much easier and faster than it was with cyanotypes (my frustrating struggle with exposure calibration for cyanotype prints is detailed here).

The longer tonal scale present in Van Dyke brown prints meant less adjustment of the transfer curves in Photoshop was needed, and because I had run at least a dozen tests using cyanotype, I had a lot of experience at comparing tones and correctly adjusting the curve. I was able to get really good results in just two steps.


Here’s the first print, made with no adjustments to the transfer curve. It looks pretty good, and I could already see that no major adjustments were needed. The mid to dark tones need a little more separation, that’s about it. I adjusted the transfer curve, printed another negative, and ran another print.


Here’s the result. I think it’s as good as I’ll get. I could be really picky and try to expand the tones in the 90-100% range, but I doubt there would be a noticeable difference in the prints.

While I was working in the basement, I decided to try toning cyanotype prints. There are several different formulas for toning cyanotypes, many of them can be found in The Book of Alternative Photographic Processes by Christopher James. I chose one that tones the prints to what is described in the book as an eggplant black color. It basically involves dipping a finished cyanotype into a solution of sodium carbonate, which bleaches the image. After a rinse, the print is submerged in a tray of tannic acid for several minutes.

I chose one of my old test cyanotype prints to experiment with toning. Here’s the original cyanotype:


and here’s how it looks after being toned.


I like the look of the toned print quite a bit. I’m going to try toning a few more to see how I like them. I’m also going to start printing negatives to use in making Van Dyke brown prints. I’ve got at least four negatives ready to go, so watch this space for more images appearing soon.

Tuesday, October 16, 2007

Home Again


I returned home from San Francisco on Saturday, and am getting back into my studio routine. I was supposed to have returned on Friday, but heavy rains in San Francisco caused major flight delays, and my flight ended up getting canceled. Luckily, lodging wasn’t an issue, as I was staying with my sister and her family. I easily rebooked a flight for Saturday morning, then spent Friday afternoon shooting the rain-soaked streets of North Beach and Chinatown.


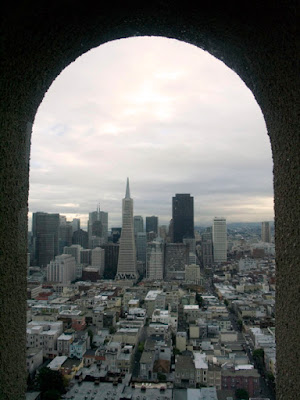
I also went to the top of Coit Tower, which is just a couple of blocks from where my sister lives, and got some good shots there as well.


It was a really fun and productive trip. I shot over 875 photos with my digital camera, 11 rolls of film (132 photos) with the Holga camera, and 7 rolls of film in the Nishika camera. I shot in a lot of interesting locations like the Musee Mecanique and Fairyland (which I mentioned in previous posts), Japantown, the Palace of the Legion of Honor, Chinatown, and many other places.


Now comes the hard part-going through all those photos and figuring out which ones to use and what to do with them. I’ve already made a large negative of a photo I took in Chinatown to make a cyanotype print from, and all the film has been taken to a lab for developing. I’ve got chemistry ready to start printing Van Dyke brown prints and gum bichromate prints. High quality artist’s paper, ink for my printer, and more transparency film are on order. Really, if there's a problem now, it's that I have more things to do than I have time to do them in.


Monday, October 8, 2007

Hello from San Francisco


I've been having fun in San Francisco. Been spending time with my niece, having dinner with friends, and enjoying the beautiful city. Been doing a lot of shooting as well, and haven't even gone to any of the places I'm planning on shooting at.

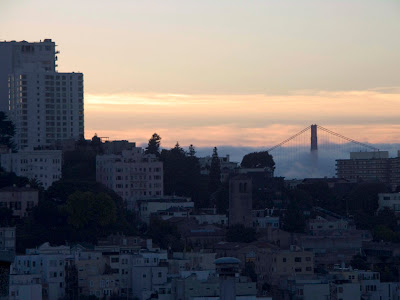
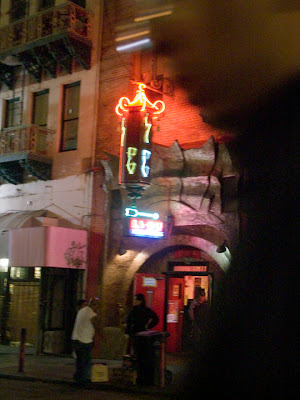
Here's a couple of photos. I haven't been able to do anything with them except resize them, but you can see the sort of things I'm shooting.
The one you see at the top of this post was taken in Chinatown last night.


This one was taken this afternoon in the Haight/Ashbury neighborhood.


This is a storefront window in Chinatown, taken on Saturday. Tomorrow I'm planning on shooting at the Musee Mecanique, and around Fisherman's Wharf.

If I get some good shots, I might post them here.

Friday, October 5, 2007

San Francisco

I’m leaving tonight for a week in San Francisco. Unlike my vacation in Europe this past summer, I’m treating this as a work trip. Although I’ll be spending time with family and friends (I’m staying with my sister, her husband and my niece, who live on Telegraph Hill), my main goal for this trip is to do a lot of shooting. I’ve had this trip in mind ever since applying for my sabbatical. Not teaching gives me the opportunity to travel, and breaking up the hours I’ve been spending in my home studio sounds pretty good right about now.

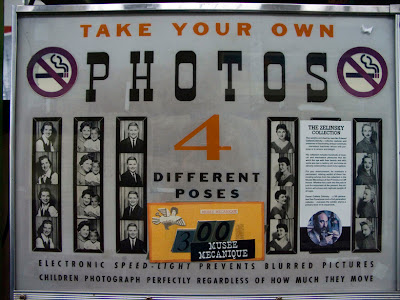
I’m planning on shooting at the Musee Mecanique, which is a great collection of vintage arcade machines. I’m also planning a trip to Fairyland in Oakland, CA, a 1950’s era children’s theme park which was recently restored. I may also be visiting the Oakland Museum of California, a natural history museum that looks like it could have some interesting dioramas.

I’ll also be wandering around a lot, shooting whatever I find. Chinatown is a likely place, my sister lives just a couple of blocks from there, and it’s a photogenic neighborhood. Fisherman’s Wharf is also a possibility. Although it is pretty much just like Navy Pier here in Chicago (an obnoxious, overpriced tourist trap), it’s likely I would get some good photos there.

I’m bringing three cameras-my digital, a Holga, and my 4-lens Nishika camera, to allow me to make a variety of photos.

I’ll probably update the blog a couple of times while I’m in San Francisco. I may even post some photos.

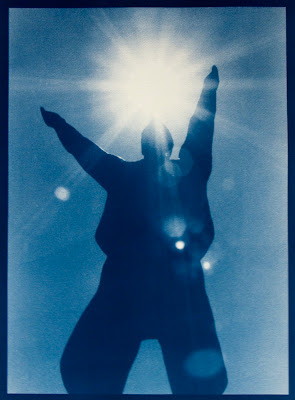
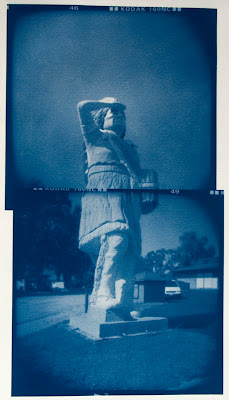
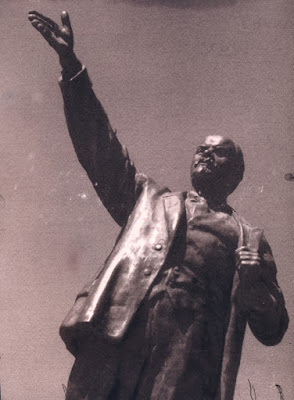
Until then, here's a couple of cyanotype prints I made yesterday. The first one is a photo I took at the Communist Sculpture Park in Budapest. The second one is an old photo I took a couple of years ago, that I thought would make a good cyanotype.

See you in a week!


Wednesday, October 3, 2007

Cyanotypes

Now that I have the technical issues worked out when printing negatives, I’ve been busy making prints over the past several days. These are all cyanotype prints, made with large negatives printed on my inkjet using Pictorio transparency, which I mentioned in the last post. I shot them quickly by tacking them up on a board and hand holding my digital camera. As a result, they aren’t perfectly square, but they’ll give you an idea of what I’m working on.


This photo was taken in the Communist Statue Park in Budapest (as was the photo in my last post). When Communism ended in Hungary, all the Communist-era statuary was moved to a plot of land at the edge of the city for tourists to enjoy. I took a lot of photos there, it’s likely that more of them will end up being printed. The day I was there it was really sunny, so I used the sun in this backlit photo.


This was made with my Holga toy camera. It’s two photos collaged together and printed as a single image. The statue sits in front of a liquor store in Oak Lawn, IL.

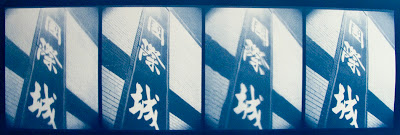
Here are couple of images made with my 4-lens Nishika camera. That camera is meant to make lenticular images, but I’ve been using it to explore subtle changes in viewpoint. I’ve also been taping various plastic pieces over some of the lenses to distort and obscure the resulting image, and experimenting with using the camera to make panoramic images.


This photo was taken in a used car lot. I love the clouds in this one.


This photo was taken in Chinatown last May. I was just in Chinatown last weekend, and it looks like this building is being converted to condos, something I predicted would happen several years ago.

I’m still going strong with cyanotypes, I have a couple of negatives in process that I’ll pe printing onto transparency today. I’m also about to start working with a couple of other printing processes, namely VanDyke brown and gum bichromate. I want to play with toning cyanotype prints to shift the color as well. I’ll post more prints as I get them done.